
We're been packing our things as we're moving house and one of the last things to pack was the girls baskets of creative bits and bobs. I didn't want to pack everything and thought that we should at the very least keep some essential pencils and paper to hand. I knew once they were packed I'd have so much trouble finding them when it was called for and, I know I'm going to need them to have some sitting-still-and-keeping-busy-moments! This way I could encourage them to keep their pencils tidily all the while keeping themselves busy drawing at the table whilst I continued to pack everything else.
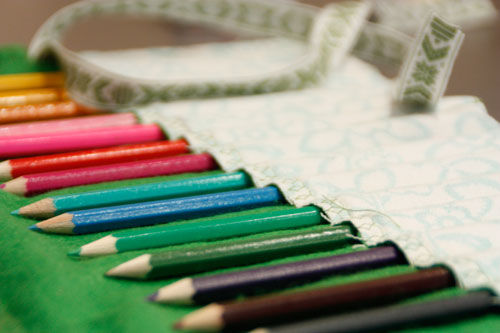
Thankfully my sewing machine had not yet been packed and I found a scrap of felt and an old faded tea towel that would make a perfect pencil roll. These are great for travelling, make great gifts and they took (once I'd found all the things I'd need) 15 minutes to make!
The girls of course love them and as it didn't take very long to make I made one for each of them. I might make another batch to use in party bags for Oona's upcoming 3rd birthday too. But not now..... I've got a lot more packing to do!
Here's what you'll need:
- Fabric
- ribbon or ric-rac
- pack of pencils
- scissors
- needle and thread or sewing machine
- tailors chalk or fine pencil
 |
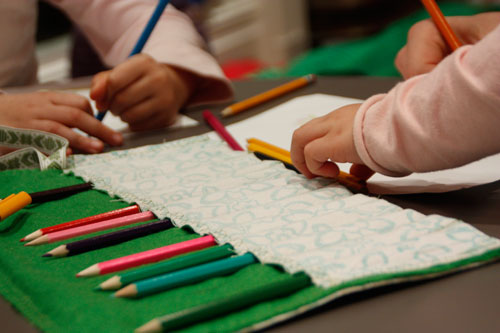
| pic 3 & 4 show the second pencil roll I made but on this fabric shows more clearly the guide |
Here's how:
- Cut your fabric to size. You'll need a rectangular shape that measures 13" by 15" (the larger length will depend on how many pencils you want in your roll). For each pencil you'll need an inch of fabric and then 1/2 and inch either side of the row. The one created here was for 14 pencils. Which means, 14 inches + 2 x 1/2 an inch = 15".
- You'll now need to stitch along the top and bottom of your fabric to prevent any fraying. The sides will be stitched last. As the tea towel I used to create this had no pattern or colour on the reverse I added some felt to the back to give the inside some colour. If you are doing it this way too then pin the fabric together making sure the colour you want to show is on the outside/facing out.
- Fold up the bottom of the fabric to create a pocket measuring 4" from bottom to top and pin the edges together to prevent it from sliding.
- Now, make your measurements for the pencil pockets. Measure 1/2 and inch in from the left and mark a vertical line up and down the pocket. Then mark a vertical line in one inch intervals leaving you with another 1/2 inch margin on the left side.
- Sew vertically up your marked lines to create each individual pencil pocket.
- Now sew the entire vertical left and right side edges to finish off and to prevent any fraying of the sides.
- Finally Flip over the fabric left to right as though turning a page of a book so that the outside is now showing. Take a length of ribbon and fold in half. Sew the mid point to the left hand side of your pencil roll half way up the side. This will allow you to tie the roll up and keep the pencil secure inside when you're out and about.
- Load with pencils and its ready!
Of the two pencil rolls I made I much prefer the one I made using an inner layer of felt. Not only does it give it a quilted feeling and avoids the feel of the hard pencils once rolled up but I also love the flash of bright colour on the inside. If you would like to use only one piece of fabric to make them - I'd suggest using felt over a heavy cotton. If you love beautiful fabric like we do then do use it........it doesn't have to be a tea-towel!

Happy Making xx
This is part of our Monday Makery where each week we bring you a recipe to bake, a craft to create and simple ideas for fun things to make with children. We know that sometimes the craft isn't about the final finish but having created something together and we want to encourage everyone to have a go. I am certainly a 'newbie' when it comes to making things and trust me I'll leave all baking recipes to my sister, you see the thing is my girls love it, they feed me with inspiration and I love that our home is a constant and evolving state of creating and creations.
Our daily blogs offer you a sneak preview in our 'once upon a week' where we give you an insight into a week with Sisters Guild, a guide to whats on, with places to visit and things to do with all the family in our 'Art of Living', on Tuesday we bring you a little closer to our designers and why we chose them with 'The Story behind Our Collections' and a little closer to the bloggers, crafters and friends of Sisters Guild with our fun 'Tell us its Tuesday', whilst on Wednesday we show you new arrivals and inspiring discoveries in the Sisters Guild Boutique. To find where we get our inspiration from take a look at 'An A-Z of Sisters Guild' ; a collection of images inspired by the words which express the meaning of what we believe.
No comments:
Post a Comment